Retaining Wall Ideas
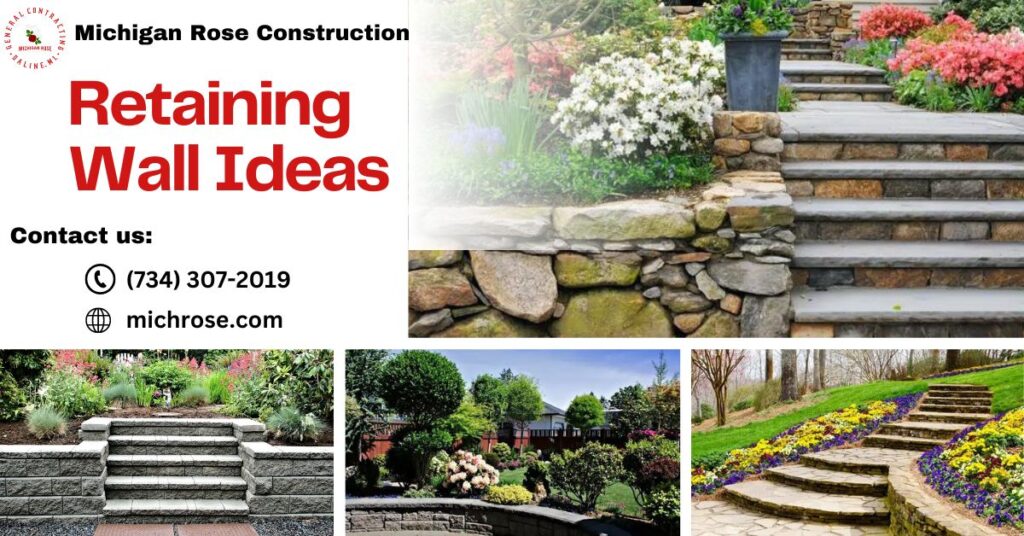
Retaining Wall Ideas: An Overview of the Different Types Are you facing difficulty dealing with uneven terrain or soil erosion in your outdoor area? Are you seeking a solution that not only resolves these problems but also improves the visual attractiveness of your landscape? If so, then you are fortunate. Many homeowners in Michigan, including those residing in Ann Arbor, Canton, Livonia, Farmington Hills, Novi, and nearby regions, encounter comparable challenges regarding limitations in available space. Retaining walls provide a flexible and effective answer for various landscaping challenges, such as stabilizing inclines and constructing multiple-tiered garden beds. Retaining walls can fulfill both a structural purpose and a design role, whether you want to convert a sloping yard into a practical oasis or enhance the visual appeal of your outdoor space. This article will examine various innovative retaining wall concepts to stimulate your imagination for your upcoming landscaping endeavor. We will explore different materials, styles, and techniques, ranging from natural stone to modular blocks, to assist you in visualizing the ideal retaining wall for your outdoor area. Retaining Wall Ideas- The possibilities are endless when it comes to upgrading your outside area, but regrettably, so are the financial constraints. Furthermore, retaining wall ideas will enable you to quickly envision your outdoor area as you’ve always wanted it to be if you’re unsatisfied with your uneven or sloping garden. By creating useful sections out of reach that were previously uneven and unusable, a retaining wall helps you make the most of your space. They are excellent for creating zones, adding height, and giving your garden a distinctive sculpture-like appearance. They will assist you in making the most of your outdoor area. The best part is that, even though it can be an expensive investment, it will unquestionably raise your home’s resale value and enable you to spend more time outside for years to come. When it comes to retaining wall design, there are a lot of options for both wood and concrete that can improve the aesthetic appeal of your environment. Michigan Rose Construction can do it all, including build deck pergolas, remodel basements, create unique landscape designs, and more. The first thing we need to know what a retaining wall is As its name suggests, a strong, well-constructed retaining wall keeps dirt from shifting and creates a level, structured surface. The purpose of an outdoor retaining wall, which determines the type of wall and materials you use, is often to hold back soil or water. Retaining wall concepts are frequently utilized on uneven or sloping terrain to create a flat area above them. When constructed properly, a retaining wall will help redefine your outdoor space and keep everything safe from the elements. USES FOR RETAINING WALLS You may be perplexed by the potential applications and reasons for constructing a retaining wall. Terracing your backyard creates flat areas so you can make the most of the space while still having the stability of solid ground below you, which is great for back gardens on hills. Retaining wall ideas can help you design a driveway, patio, or workstation or ease the transition from a sidewalk to your home (on a slope). Additionally, retaining walls protect your property from a variety of weather events that could otherwise cause water and ground to shift, which could damage your home’s foundation. What are the best materials for retaining walls? A retaining wall can be constructed from various materials, as one might expect. Each has advantages and disadvantages, but ultimately, you’ll find something that works for your needs and the space you have. Timber Timber is an affordable and readily available material for retaining walls. When planning a do-it-yourself retaining wall project, it’s a more straightforward and less expensive alternative. The wall footings can be easily constructed with crushed stone, which will streamline the installation process. It’s not the ideal choice if you’re looking for retaining wall ideas that may last a lifetime, as pressure-treated pine can last for decades (up to 40 years), and reliable redwood can last up to 20 years. Masonry Concrete blocks, bricks, or stone retaining walls, if built correctly and maintained correctly, can last for many years. If you’re keen on saving money by building your own retaining wall, you may give it a go. However, you’ll probably need a professional to install it because you can’t guarantee how well it will hold up on your own. Such retaining wall designs also necessitate concrete footings for stability and security, which can be tricky to achieve correctly as a beginner. Poured Concrete The best and longest-lasting option for a retaining wall is poured concrete. In addition to the usual smooth, grey concrete, they now provide the option to have the concrete stamped, carved, or stained for a more personalized effect. Because it is difficult to work, you will need someone to help you make your concrete retaining wall ideas a reality. Because it is impermeable and will not let water in, poured concrete is ideal for retaining walls around ponds. Because of its sleek profile and lack of visible seams, a poured concrete retaining wall is also a good choice for a contemporary, minimalist house. Interlocking Concrete Blocks When it comes to building materials, interlocking concrete blocks are among the most user-friendly options. Such retaining wall ideas are fantastic if you’re interested in and capable of handling the project on your own, since they offer the prospect of a do-it-yourself project that you can complete independently. Lightweight, simple to install, and requiring no mortar for assembly, they are a great choice. They call for a crushed stone base and are available in a variety of colors to complement any decor. Their portability and lack of mortar make them ideal as a stopgap measure until you settle on a permanent design for your retaining wall, and they’re also easy to relocate without destroying the existing structure. RETAINING WALL IDEAS Retaining walls is crucial to many landscaping projects, providing both functional and aesthetic benefits.
How to Build a Retaining Wall
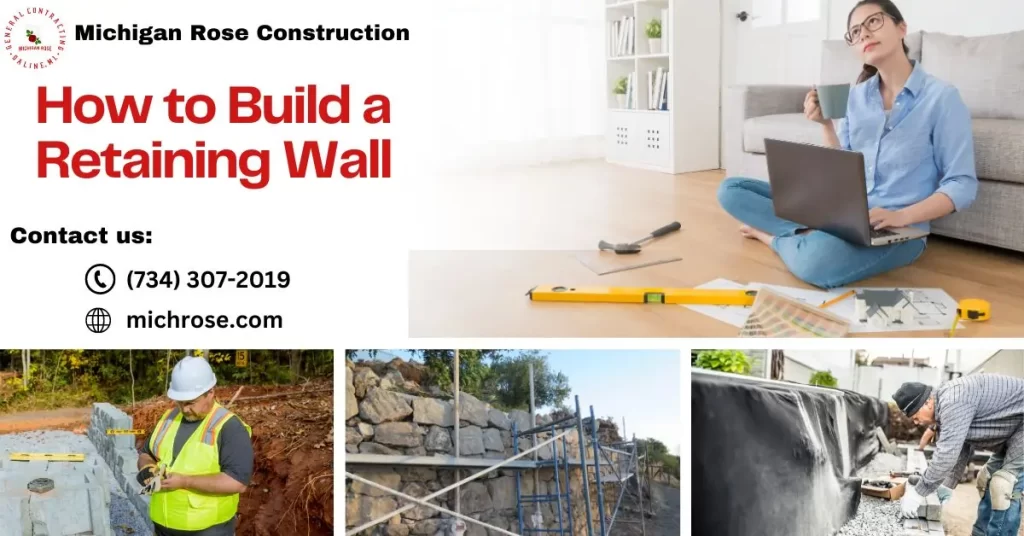
How to Build a Retaining Wall | A Guide to Create Your Own At Michigan Rose Construction, we combine exceptional attention to detail with imaginative ingenuity, transforming your ideas into breathtaking reality. As a premier provider of custom carpentry and framing services, we pride ourselves on bringing your dreams to life, whether crafting elegant decks, gorgeous pergolas, sturdy retaining walls or other bespoke structures. MRC is a committed provider of top-quality services, exerting a beneficial influence throughout a wide range of neighborhoods. We have a wide presence in the areas of Saline, Plymouth, Wixom, South Lyon, Livonia, and Milan, providing extensive coverage and customized solutions. MRC is dedicated to achieving high standards of quality and promoting the welfare of the community. Building a retaining wall is a task that can greatly improve the practicality and visual appeal of a landscape. To achieve a successful finish, it is necessary to have a full understanding of the process, whether it is intended to manage soil erosion, create usable garden spaces, or add a decorative feature. This comprehensive guide will offer in-depth knowledge and practical advice for constructing a sturdy and long-lasting retaining wall. Understanding Retaining Walls Prior to commencing construction, it is imperative to comprehend the purpose and function of retaining walls. Retaining walls are engineered constructions created to confine soil on slopes that are not naturally occurring. They are utilized to secure soils between two distinct elevations, typically in regions of land with unfavorable slopes. Planning Your Retaining Wall Determine the Purpose Decide whether your wall is for erosion control, creating a flat area for gardening, landscaping, or purely decorative. Design and Layout Sketch the area where the wall will go. Consider the height, which impacts whether you need an engineered design and the type of materials necessary. Due to potential structural implications, consulting a professional is recommended for walls over three feet. Material Selection Choices range from poured concrete and natural stone to interlocking block systems designed for easy DIY installation. Each has its benefits and costs. Obtain Permits Consult the relevant municipal authorities to obtain information regarding building codes and permit prerequisites. Proper construction is particularly important for taller walls, as inadequate construction can result in failure and substantial damage. Site Preparation and Safety Ensure a clear working area and plan for handling materials and waste. Safety gear like gloves, goggles, and steel-toed boots are essential. How to Build a Retaining Wall Step 1: Excavation Mark the footprint of the wall and excavate the trench. The trench should be dug to a depth below the frost line and wide enough to accommodate the base material plus the width of the blocks or stones. Step 2: Laying the Foundation A solid foundation is crucial. Fill your trench with a base layer of crushed stone or gravel, then compact it thoroughly to prevent settling. A hand tamper will suffice for most DIY projects, but for larger areas, consider renting a plate compactor. Step 3: The First Row is the Key The first row of blocks or stones determines the wall’s integrity. Use a level to ensure this row is perfectly level in all directions. This might involve adding or removing the base material to make adjustments. Step 4: Drainage System Adding a drainage system behind the wall is a critical step that is often overlooked. Position a perforated drainpipe at the back base of the wall, ensuring it slopes slightly away from the wall to carry water away efficiently. Cover this with gravel and landscape fabric to prevent clogs. Step 5: Stacking the Blocks When stacking additional rows, stagger the joints for added strength. Some systems use pins or interlocking edges for alignment and stability. Check for level with each row. Backfill with gravel as you go to support the structure and facilitate drainage. Step 6: Capping and Finishing Touches Once at the desired height, secure the capstones with construction adhesive designed for masonry. This gives the capstones a polished look and prevents water infiltration, which can freeze and cause damage. Step 7: Landscaping and Backfilling The final step involves backfilling the area behind the wall with suitable soil for planting if desired. Grade the area to ensure water flows away from the wall, reducing pressure and the risk of undermining. Troubleshooting and Maintenance Identifying Potential Issues Visible Bulging or Leaning: One of the most apparent signs of trouble is when a wall segment bulges outward or leans. This deformation is often due to excessive pressure from the soil behind the wall and can be exacerbated by water build-up. Cracks in the Wall: Small cracks can develop over time due to natural settling, but significant cracking might indicate structural failure. Cracks that grow larger over time or horizontal cracks that suggest lateral soil pressure require immediate attention. Water Pooling at the Base: Water accumulation at the base of the wall indicates a malfunctioning drainage system. Effective drainage is crucial in order to avoid water from exacerbating hydrostatic pressure on the wall. Routine Maintenance Checks Drainage Systems: Check drain pipes, weep holes, and gravel drainage paths for clogs or obstructions. It is crucial to ensure that water can flow freely away from the wall. Soil and Backfill: Inspect the soil behind the wall for signs of excessive saturation. Add more gravel if necessary to improve drainage and prevent soil from exerting undue pressure. Vegetation: Plants growing on or near the wall might add aesthetic value, but roots can cause displacement of the blocks or stones. Regularly trim back any roots that threaten the wall’s structure. Troubleshooting Strategies For Bulging or Leaning Walls: If a segment has started to bulge or lean, you may need to excavate the area behind the affected section, relieve the pressure, and rebuild it correctly. This might also involve improving the drainage system. Repairing Cracks: Small cracks may be sealed with masonry crack filler, but more significant issues might require that wall sections be dismantled and rebuilt. Improving Drainage: For water pooling, enhance the existing drainage system.
Asphalt and Concrete Driveway | Which is Better?
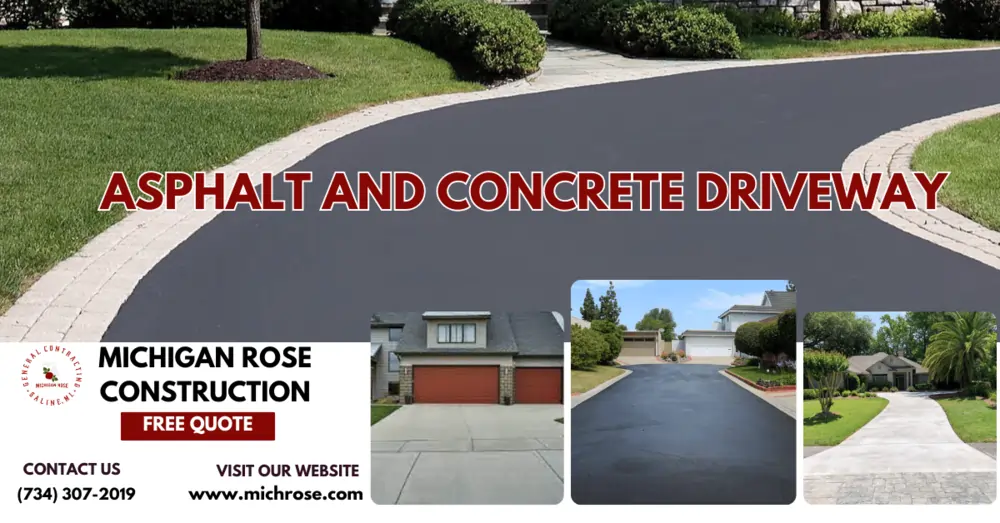
Asphalt and Concrete Driveway: Introduction Asphalt and concrete driveway are the two most popular surfacing materials. They each have their own strengths and weaknesses that make them suitable for different needs and budgets. In general, asphalt driveways are less expensive to install while concrete is the more durable, low-maintenance option with a refined appearance. When deciding between asphalt vs. concrete, homeowners weigh factors like cost, climate, look and feel. This guide provides an in-depth overview of asphalt and concrete driveways to help you determine which is better suited for your home. We’ll compare the asphalt and concrete driveway pros and cons of each material across important considerations like upfront cost, lifespan, appearance, maintenance, traction and more. With the right information, you can make an informed decision on paving material that checks all the boxes for your driveway goals and needs. Asphalt and Concrete Driveway Cost When it comes to initial cost, asphalt is often the more affordable option for driveway material. An asphalt driveway will generally cost $2-5 per square foot installed. The cost can vary depending on your location, the size and complexity of the driveway, and whether you use a single or double layer of asphalt. A basic concrete driveway often runs $5-10 per square foot installed. Concrete is more expensive for a few reasons: The bottom line is that asphalt will generally be the cheaper upfront option for most homeowners. However, cost differences do become less significant for larger driveways where economy of scale comes into play for concrete. Maintenance and lifespan costs also factor in when weighing asphalt versus concrete over the long run. We’ll explore those differences next. Asphalt and Concrete Driveway Durability When it comes to how long an asphalt or concrete driveway will last, there are a few factors to consider. Asphalt driveways generally have a lifespan of 15-20 years on average. However, this can vary quite a bit depending on climate, traffic volume, and maintenance. Asphalt is more flexible than concrete and can better withstand minor ground movement. However, it is more prone to damage from gasoline, oil spills, and heavy loads over time. The asphalt binder that holds the aggregate together also oxidizes over time, causing the material to become more brittle. This can lead to cracking, raveling of the surface, and potholes. With proper maintenance like crack sealing and surface treatments, asphalt can often last 20+ years. Extreme hot or cold climates may shorten its lifespan. Concrete driveways are extremely durable, often lasting 30 years or more. High-quality concrete with proper subgrade preparation and control joints can remain smooth and crack-free for decades. It is not impacted by gas or oil spills. Concrete’s rigid nature makes it more prone to cracking due to ground settling or tree root growth, but this is usually manageable with control joints. Minor cracks in concrete can be filled to prevent further deterioration. In northern climates subject to freeze-thaw cycles, air entrained concrete should be used to improve durability. With periodic maintenance like joint resealing, concrete drives can last 40+ years. So in summary, concrete generally has a longer lifespan, but both materials can last 20+ years if properly installed and maintained. Concrete may cost more upfront but require less frequent repairs and replacements over its lifetime. Asphalt tends to be more budget-friendly initially but needs more ongoing maintenance. Asphalt and Concrete Driveway Maintenance When it comes to driveway maintenance, asphalt and concrete have different requirements. With asphalt driveways, owners should plan to sealcoat every 2-3 years on average. This protects the asphalt from exposure to oils, gas, salt, and UV rays. Without regular sealing, asphalt can become brittle and begin to deteriorate. Cracks should also be filled as they occur to prevent further damage. Concrete driveways are more durable than asphalt and do not require sealcoating. However, concrete is still susceptible to cracking over time. These cracks should be sealed as soon as they appear to prevent long-term damage. Weeds can also grow in the cracks of concrete, so regular removal is important. Compared to asphalt, concrete is less prone to damage from gas, oil, and salt. But both concrete and asphalt can be stained from vehicle fluids and will require cleaning. When maintained properly, both asphalt and concrete can last for decades. Asphalt requires more frequent maintenance and resealing, while concrete needs less frequent repairs for cracks and stains. Proper maintenance is key for getting the longest life from either material. Asphalt and Concrete Driveway Appearance When it comes to visual appeal, asphalt and concrete driveways in Canton MI have distinct differences. Asphalt driveways are typically black or dark grey. The asphalt material is mixed and poured while hot, then compacted into a smooth surface as it cools. The color can lighten over time with exposure to the sun. Asphalt is a very flexible material that can be impressed with interesting patterns or designs while it is still warm during installation. Concrete driveways are generally light grey or a tan/beige color. The appearance results from the cement, sand and stone aggregate mixture that is poured and cured. Concrete can also be stamped with patterns or stenciled with color hardeners while wet to create a range of looks. But plain concrete has a rather monotone, industrial look on its own. For those wanting bold colors or intricate designs, stamped or stained concrete is the best option. Asphalt and plain concrete have a more basic, utilitarian appearance in terms of visual appeal. Keep in mind that both asphalt and concrete driveways can be customized to achieve different aesthetics. Asphalt and Concrete Driveway Traction When it comes to traction, asphalt and concrete driveways perform quite differently, especially when weather conditions are less than ideal. Asphalt provides significantly better traction than concrete when the surface is wet. This is because asphalt is much more porous than concrete, allowing water to drain through more quickly. Concrete becomes very slick when wet because water sits on top of the surface. Asphalt also maintains better traction in snowy conditions.
