How to Build a Retaining Wall
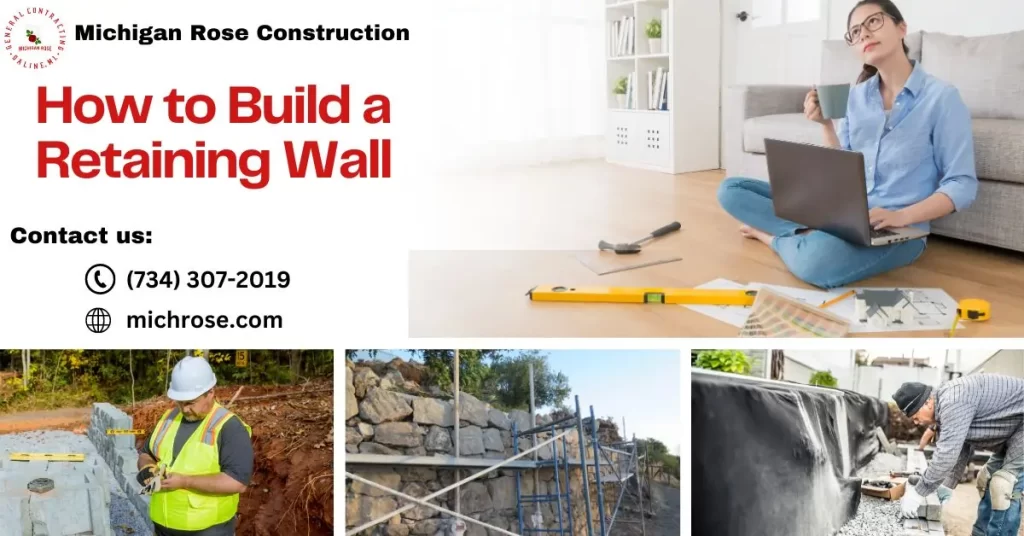
How to Build a Retaining Wall | A Guide to Create Your Own At Michigan Rose Construction, we combine exceptional attention to detail with imaginative ingenuity, transforming your ideas into breathtaking reality. As a premier provider of custom carpentry and framing services, we pride ourselves on bringing your dreams to life, whether crafting elegant decks, gorgeous pergolas, sturdy retaining walls or other bespoke structures. MRC is a committed provider of top-quality services, exerting a beneficial influence throughout a wide range of neighborhoods. We have a wide presence in the areas of Saline, Plymouth, Wixom, South Lyon, Livonia, and Milan, providing extensive coverage and customized solutions. MRC is dedicated to achieving high standards of quality and promoting the welfare of the community. Building a retaining wall is a task that can greatly improve the practicality and visual appeal of a landscape. To achieve a successful finish, it is necessary to have a full understanding of the process, whether it is intended to manage soil erosion, create usable garden spaces, or add a decorative feature. This comprehensive guide will offer in-depth knowledge and practical advice for constructing a sturdy and long-lasting retaining wall. Understanding Retaining Walls Prior to commencing construction, it is imperative to comprehend the purpose and function of retaining walls. Retaining walls are engineered constructions created to confine soil on slopes that are not naturally occurring. They are utilized to secure soils between two distinct elevations, typically in regions of land with unfavorable slopes. Planning Your Retaining Wall Determine the Purpose Decide whether your wall is for erosion control, creating a flat area for gardening, landscaping, or purely decorative. Design and Layout Sketch the area where the wall will go. Consider the height, which impacts whether you need an engineered design and the type of materials necessary. Due to potential structural implications, consulting a professional is recommended for walls over three feet. Material Selection Choices range from poured concrete and natural stone to interlocking block systems designed for easy DIY installation. Each has its benefits and costs. Obtain Permits Consult the relevant municipal authorities to obtain information regarding building codes and permit prerequisites. Proper construction is particularly important for taller walls, as inadequate construction can result in failure and substantial damage. Site Preparation and Safety Ensure a clear working area and plan for handling materials and waste. Safety gear like gloves, goggles, and steel-toed boots are essential. How to Build a Retaining Wall Step 1: Excavation Mark the footprint of the wall and excavate the trench. The trench should be dug to a depth below the frost line and wide enough to accommodate the base material plus the width of the blocks or stones. Step 2: Laying the Foundation A solid foundation is crucial. Fill your trench with a base layer of crushed stone or gravel, then compact it thoroughly to prevent settling. A hand tamper will suffice for most DIY projects, but for larger areas, consider renting a plate compactor. Step 3: The First Row is the Key The first row of blocks or stones determines the wall’s integrity. Use a level to ensure this row is perfectly level in all directions. This might involve adding or removing the base material to make adjustments. Step 4: Drainage System Adding a drainage system behind the wall is a critical step that is often overlooked. Position a perforated drainpipe at the back base of the wall, ensuring it slopes slightly away from the wall to carry water away efficiently. Cover this with gravel and landscape fabric to prevent clogs. Step 5: Stacking the Blocks When stacking additional rows, stagger the joints for added strength. Some systems use pins or interlocking edges for alignment and stability. Check for level with each row. Backfill with gravel as you go to support the structure and facilitate drainage. Step 6: Capping and Finishing Touches Once at the desired height, secure the capstones with construction adhesive designed for masonry. This gives the capstones a polished look and prevents water infiltration, which can freeze and cause damage. Step 7: Landscaping and Backfilling The final step involves backfilling the area behind the wall with suitable soil for planting if desired. Grade the area to ensure water flows away from the wall, reducing pressure and the risk of undermining. Troubleshooting and Maintenance Identifying Potential Issues Visible Bulging or Leaning: One of the most apparent signs of trouble is when a wall segment bulges outward or leans. This deformation is often due to excessive pressure from the soil behind the wall and can be exacerbated by water build-up. Cracks in the Wall: Small cracks can develop over time due to natural settling, but significant cracking might indicate structural failure. Cracks that grow larger over time or horizontal cracks that suggest lateral soil pressure require immediate attention. Water Pooling at the Base: Water accumulation at the base of the wall indicates a malfunctioning drainage system. Effective drainage is crucial in order to avoid water from exacerbating hydrostatic pressure on the wall. Routine Maintenance Checks Drainage Systems: Check drain pipes, weep holes, and gravel drainage paths for clogs or obstructions. It is crucial to ensure that water can flow freely away from the wall. Soil and Backfill: Inspect the soil behind the wall for signs of excessive saturation. Add more gravel if necessary to improve drainage and prevent soil from exerting undue pressure. Vegetation: Plants growing on or near the wall might add aesthetic value, but roots can cause displacement of the blocks or stones. Regularly trim back any roots that threaten the wall’s structure. Troubleshooting Strategies For Bulging or Leaning Walls: If a segment has started to bulge or lean, you may need to excavate the area behind the affected section, relieve the pressure, and rebuild it correctly. This might also involve improving the drainage system. Repairing Cracks: Small cracks may be sealed with masonry crack filler, but more significant issues might require that wall sections be dismantled and rebuilt. Improving Drainage: For water pooling, enhance the existing drainage system.
Asphalt and Concrete Driveway | Which is Better?
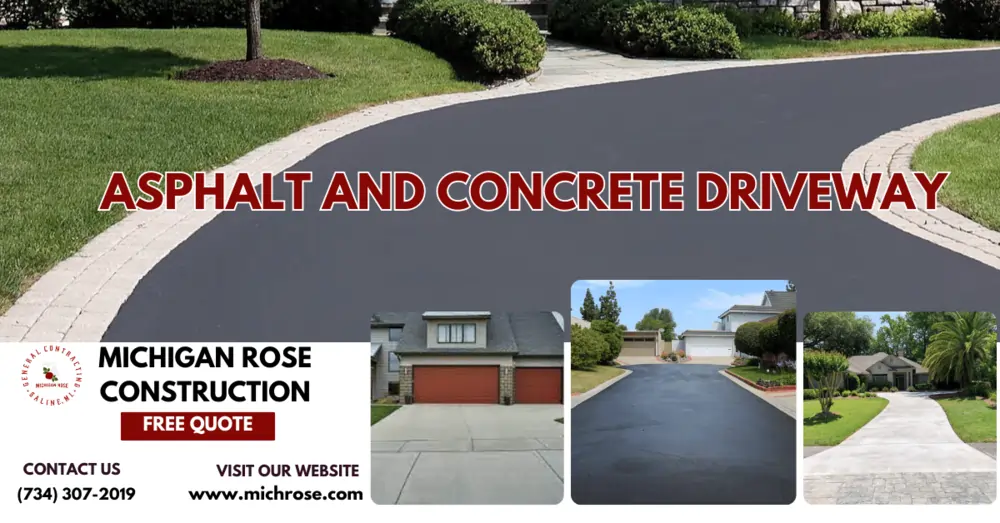
Asphalt and Concrete Driveway: Introduction Asphalt and concrete driveway are the two most popular surfacing materials. They each have their own strengths and weaknesses that make them suitable for different needs and budgets. In general, asphalt driveways are less expensive to install while concrete is the more durable, low-maintenance option with a refined appearance. When deciding between asphalt vs. concrete, homeowners weigh factors like cost, climate, look and feel. This guide provides an in-depth overview of asphalt and concrete driveways to help you determine which is better suited for your home. We’ll compare the asphalt and concrete driveway pros and cons of each material across important considerations like upfront cost, lifespan, appearance, maintenance, traction and more. With the right information, you can make an informed decision on paving material that checks all the boxes for your driveway goals and needs. Asphalt and Concrete Driveway Cost When it comes to initial cost, asphalt is often the more affordable option for driveway material. An asphalt driveway will generally cost $2-5 per square foot installed. The cost can vary depending on your location, the size and complexity of the driveway, and whether you use a single or double layer of asphalt. A basic concrete driveway often runs $5-10 per square foot installed. Concrete is more expensive for a few reasons: The bottom line is that asphalt will generally be the cheaper upfront option for most homeowners. However, cost differences do become less significant for larger driveways where economy of scale comes into play for concrete. Maintenance and lifespan costs also factor in when weighing asphalt versus concrete over the long run. We’ll explore those differences next. Asphalt and Concrete Driveway Durability When it comes to how long an asphalt or concrete driveway will last, there are a few factors to consider. Asphalt driveways generally have a lifespan of 15-20 years on average. However, this can vary quite a bit depending on climate, traffic volume, and maintenance. Asphalt is more flexible than concrete and can better withstand minor ground movement. However, it is more prone to damage from gasoline, oil spills, and heavy loads over time. The asphalt binder that holds the aggregate together also oxidizes over time, causing the material to become more brittle. This can lead to cracking, raveling of the surface, and potholes. With proper maintenance like crack sealing and surface treatments, asphalt can often last 20+ years. Extreme hot or cold climates may shorten its lifespan. Concrete driveways are extremely durable, often lasting 30 years or more. High-quality concrete with proper subgrade preparation and control joints can remain smooth and crack-free for decades. It is not impacted by gas or oil spills. Concrete’s rigid nature makes it more prone to cracking due to ground settling or tree root growth, but this is usually manageable with control joints. Minor cracks in concrete can be filled to prevent further deterioration. In northern climates subject to freeze-thaw cycles, air entrained concrete should be used to improve durability. With periodic maintenance like joint resealing, concrete drives can last 40+ years. So in summary, concrete generally has a longer lifespan, but both materials can last 20+ years if properly installed and maintained. Concrete may cost more upfront but require less frequent repairs and replacements over its lifetime. Asphalt tends to be more budget-friendly initially but needs more ongoing maintenance. Asphalt and Concrete Driveway Maintenance When it comes to driveway maintenance, asphalt and concrete have different requirements. With asphalt driveways, owners should plan to sealcoat every 2-3 years on average. This protects the asphalt from exposure to oils, gas, salt, and UV rays. Without regular sealing, asphalt can become brittle and begin to deteriorate. Cracks should also be filled as they occur to prevent further damage. Concrete driveways are more durable than asphalt and do not require sealcoating. However, concrete is still susceptible to cracking over time. These cracks should be sealed as soon as they appear to prevent long-term damage. Weeds can also grow in the cracks of concrete, so regular removal is important. Compared to asphalt, concrete is less prone to damage from gas, oil, and salt. But both concrete and asphalt can be stained from vehicle fluids and will require cleaning. When maintained properly, both asphalt and concrete can last for decades. Asphalt requires more frequent maintenance and resealing, while concrete needs less frequent repairs for cracks and stains. Proper maintenance is key for getting the longest life from either material. Asphalt and Concrete Driveway Appearance When it comes to visual appeal, asphalt and concrete driveways in Canton MI have distinct differences. Asphalt driveways are typically black or dark grey. The asphalt material is mixed and poured while hot, then compacted into a smooth surface as it cools. The color can lighten over time with exposure to the sun. Asphalt is a very flexible material that can be impressed with interesting patterns or designs while it is still warm during installation. Concrete driveways are generally light grey or a tan/beige color. The appearance results from the cement, sand and stone aggregate mixture that is poured and cured. Concrete can also be stamped with patterns or stenciled with color hardeners while wet to create a range of looks. But plain concrete has a rather monotone, industrial look on its own. For those wanting bold colors or intricate designs, stamped or stained concrete is the best option. Asphalt and plain concrete have a more basic, utilitarian appearance in terms of visual appeal. Keep in mind that both asphalt and concrete driveways can be customized to achieve different aesthetics. Asphalt and Concrete Driveway Traction When it comes to traction, asphalt and concrete driveways perform quite differently, especially when weather conditions are less than ideal. Asphalt provides significantly better traction than concrete when the surface is wet. This is because asphalt is much more porous than concrete, allowing water to drain through more quickly. Concrete becomes very slick when wet because water sits on top of the surface. Asphalt also maintains better traction in snowy conditions.
Kitchen and Bathroom Countertops
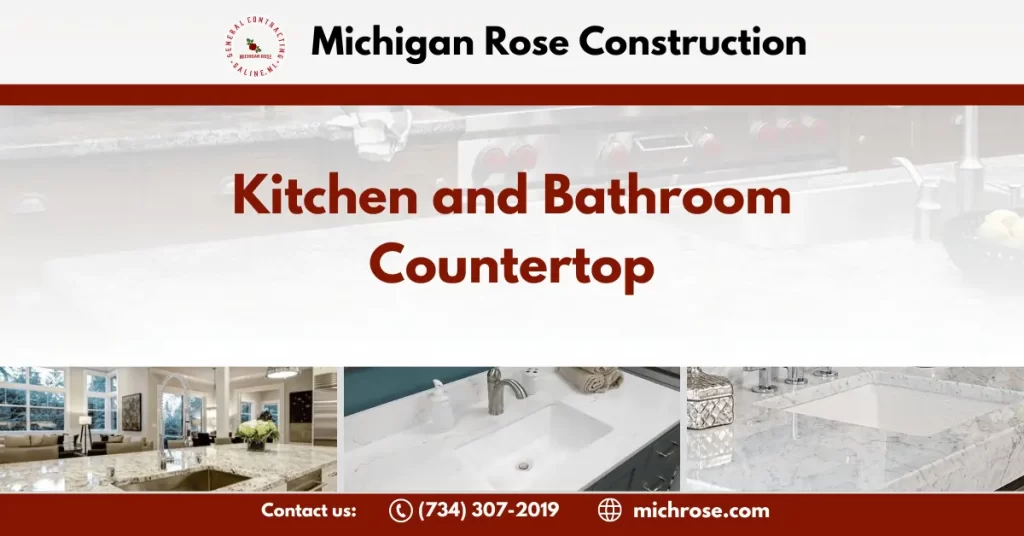
Kitchen and Bathroom Countertops: Introduction Welcome to our guide on kitchen and bathroom countertops near Ann Arbor, MI! If you’re in the process of designing or remodeling your kitchen or bathroom, choosing the right countertop material is one of the most important decisions you’ll make. The countertops are a major focal point and get used every single day, so you want to select a material that is practical, beautiful, and fits within your budget. In this post, We’ll draw upon our expertise to provide helpful insights on the most popular kitchen and bathroom countertops options, their pros and cons, and factors to consider when selecting your new countertops. Whether you prefer natural stone, engineered materials, tile, wood, or even laminate, We’ll make sure you have all the information you need to make the perfect choice for your home. Let’s dive in! Countertop Materials When selecting a countertop for your kitchen and bathroom countertops, there are many materials to consider that each have their own pros and cons. Through my 10 years of experience as a contractor, here are the most popular countertop options: Granite Countertops Granite is one of the most popular choices for kitchen and bathroom countertops due to its natural beauty and durability. Here are some of the key factors to consider with granite countertops: Pros Cons Maintenance Granite’s natural beauty and durability make it a luxurious and lasting choice. With proper sealing and care, granite countertops can remain in great shape for decades. The high upfront cost is offset by the value and elegance granite adds to a kitchen or bathroom. Marble Countertops Marble is a classic and elegant choice for kitchen and bathroom countertops. As someone who has installed countertops professionally, we have extensive first-hand experience working with marble in homes. Pros of Marble Countertops: Cons of Marble Countertops: Maintenance for Marble Countertops: With proper care and maintenance, marble countertops can stay beautiful for decades and are a worthwhile investment for many homeowners seeking timeless, classic elegance. The smooth, cool surface adds luxury and sophistication to any kitchen or bath. Quartz Countertops Quartz countertops are engineered stone made from crushed quartz blended with resins and pigments. They have become an increasingly popular option for kitchen and bathroom countertops in recent years. Here are some key things to know about quartz: Pros Cons Maintenance Quartz offers the look of natural stone with excellent durability and less maintenance. The range of styles and colors makes it adaptable for nearly any kitchen or bath. With routine care, quartz countertops will retain their beauty for many years. Laminate Countertops Often overlooked, laminate countertops remain a popular and affordable choice for many homeowners and renters. Laminate countertops, also known as “plastic laminate,” are made by fusing plastic resin with layers of kraft paper. This process creates a durable, seamless surface that resists stains, scratches, burns, and moisture damage. Pros Cons Laminate countertops can be an excellent choice for rental properties, starter homes, or quick kitchen makeovers on a tight budget. With proper care and maintenance, laminate countertops can last 10-20 years. Just avoid abrasive cleaners, hot pots/pans directly on the surface, and sharp objects that could scratch or gouge the laminate finish. Overall, laminate delivers an affordable, low-maintenance countertop option. Wood Countertops Wood countertops can add natural warmth and beauty to any kitchen or bathroom. Made from various types of wood like oak, maple, walnut, and bamboo, they have some unique advantages and disadvantages compared to other countertop materials. Pros of Wood Countertops: Cons of Wood Countertops: Cost of Wood Countertops: The average price of wood countertops ranges from $40-$100 per square foot installed. The specific wood type used and finishing details will impact the overall cost. More exotic and durable hardwoods like teak, walnut, or mahogany will be more expensive. Maintaining Wood Countertops: With proper care and maintenance, wood can be a warm yet functional countertop material that adds natural flair to any space. Considering the pros, cons, and costs allows homeowners to make the best selection for their needs and budget. Tile Countertops Tile can be an attractive and affordable option for kitchen and bathroom countertops. Here are some of the main pros and cons of tile countertops: Pros: Cons: Pricing: Tile pricing varies dramatically. Ceramic tile starts around $2 per square foot. Porcelain, stone, glass and other tiles can range from $5-$50 per square foot or more. Material cost is just one part of the total project cost. Professional installation, mortar, grout, sealant and labor will also factor in. Maintenance: Tile requires regular cleaning with a non-abrasive cleaner. Re-sealing grout lines annually will protect against stains and mildew. Cracked or damaged tiles can be replaced individually. Selecting a Countertop When selecting a bathroom and kitchen countertops, there are several important factors to consider: As an expert tip, be sure to explore all the design possibilities before deciding on a material. Get creative with patterns, edges, inserts, and accents to make your kitchen and bathroom countertops truly unique. An experienced countertop professional can help advise on the best options for your needs, budget and style. See Home Remodeling in Ann Arbor MI Conclusion Deciding on new kitchen and bathroom countertops can be an exciting experience, but also requires careful consideration of the pros and cons of different materials. In this article, we’ve covered the most popular kitchen and bathroom countertops options like granite, marble, quartz, laminate, wood, and tile. When selecting your new kitchen and bathroom countertops, be sure to think about your lifestyle, budget, and design aesthetics. Granite and marble are classic natural stone choices that add elegance, while more affordable laminate and tile can mimic the look of other materials. Maintenance is also a key factor – quartz and laminate are low maintenance, while marble requires more sealing and care. At the end of the day, you want your kitchen and bathroom countertops that will stand the test of time and suit your needs. Focus on finding a material that fits within your budget but doesn’t
Building a Retaining Wall
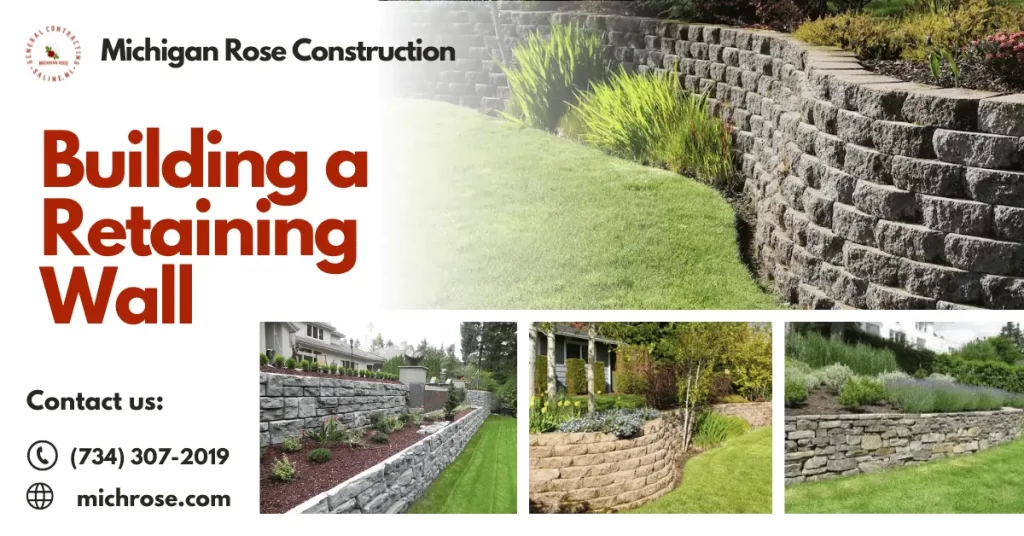
Building a Retaining Wall: Introduction Building a retaining wall are a great way to enhance your landscape and gain some usable space in your yard. A retaining wall holds back soil on sloped terrain or areas where you want to create different elevation levels. Retaining walls serve both functional and decorative purposes, preventing soil erosion and creating beautiful garden beds or terraces. They can be used for driveways, patios, planters, or simply as decorative features. Building a retaining wall range from small and simple DIY projects to large engineered walls for hillsides. The type of wall you choose depends on factors like the slope, soil conditions, height and overall look you want. With good planning and preparation, building a retaining wall is totally doable. In this post, I’ll share everything you need to know to build your own retaining wall based on my years of experience in landscaping. We’ll cover planning considerations, material options, wall designs, construction steps, and finishing touches. By the end, you’ll have the knowledge to create a functional, attractive retaining wall that enhances your outdoor living space for years to come. Building a Retaining Wall: Planning Your Retaining Wall I always recommend thoroughly planning before embarking on any retaining wall project. Proper planning will help ensure your wall is structurally sound, aesthetically pleasing, and built to last. Considering the height, length and exact location are crucial first steps. The height of your retaining wall will significantly impact the overall structural design. Generally, walls over 4 feet high require engineered plans for optimal strength and stability. Think about the elevation change you need to retain, and add at least 6 inches to account for buried footings. Carefully lay out the wall length to accurately retain your desired space. Measure the slope length and allow an extra foot at each end for proper anchoring. Consider existing elements like trees, utilities, structures and property boundaries that may impact placement. Accounting for drainage and soil conditions is also imperative in planning. Evaluate drainage flow on the slope to determine optimal design and need for integrated drainage components. Assess your existing soil structure through testing. Building a retaining wall require very firm, compactible backfill to withstand lateral earth pressure. Your soil evaluation will inform material choices. Invest time upfront plotting, planning and building a retaining wall . This will pay off tremendously in achieving a functional, lasting finished product. Let the intended site usage, aesthetic goals and your budget guide decisions – with safety and longevity at the forefront. Successful execution requires a thoughtful plan tailored to your unique space. Building a Retaining Wall: Choosing Materials When building a retaining wall, you have several options for materials. Some of the most common choices include: Concrete Concrete is a popular choice when building a retaining wall . It is extremely strong and durable. Concrete walls can be poured on site or constructed from precast blocks. Pros: Cons: Concrete Masonry Units Concrete masonry units (CMUs) or blocks are an affordable and easy retaining wall material. They interlock and stack like bricks. Pros: Cons: Wood Wood is a natural-looking choice when building a retaining wall . Options like timber and railroad ties can create an attractive, rustic aesthetic. Pros: Cons: No matter which material you choose, make sure to consider cost, appearance, longevity, and difficulty of installation. Consult with a landscaping professional to determine the best option for your specific needs. Proper construction and drainage are key to building a secure, lasting retaining wall. Foundation and Footings A proper foundation is crucial to building a sturdy, long-lasting retaining wall. Many retaining wall failures can be traced back to inadequate footings or base preparation. The footing provides a flat and level surface for the first course of blocks to be placed on. It must be sized and buried deep enough to evenly distribute the weight of the retaining wall and soil behind it, withstand frost heave forces, and avoid undermining from erosion. When planning your footing, there are two key factors to consider – depth and width. Most retaining walls do well with a footing that extends 24-30 inches below ground level. Building a retaining wall deeper than the frost line in your region helps prevent frost heave, where freeze/thaw cycles can push up and displace the base. Wider is also better to disperse pressure along a broader area. As a rule of thumb, the footing width should be at least half to 2/3 the height of the total wall. For example, a 4 foot high wall would need a 2-3 foot wide footing. Proper soil compaction is also critical for maximum stability. The base material under the footing should be compacted to 95% of its maximum density, according to testing protocols. Compaction helps prevent settling and consolidation after construction. Some other footing tips for building a retaining wall : With care taken on the foundation and footings, your retaining wall will get off to a great start! Don’t shortcut this important first step. Wall Design When designing your retaining wall, you have several options to choose from depending on your needs and preferences. The most common wall designs are straight, curved, and tiered walls. Straight Walls Straight retaining walls are the simplest design. They are often used for level or gently sloping yards where you need the wall to retain short vertical drops under 3 feet. Straight walls can be built as gravity walls using materials like stacked stone or concrete blocks that rely on weight and mass to stay upright. For taller walls, geogrid reinforcement is recommended. Straight walls work well for edging flower beds, tree rings, and creating terraces in your yard. They have a clean, linear look that defines and borders spaces nicely. Curved Walls Curved retaining walls create a softer, flowing aesthetic in your landscape. They can be used to terrace yards with rounded edges or to surround tree rings and planting beds. Curved walls require more planning and precision than straight walls, as the curve needs to be
Basement Renovation Ideas
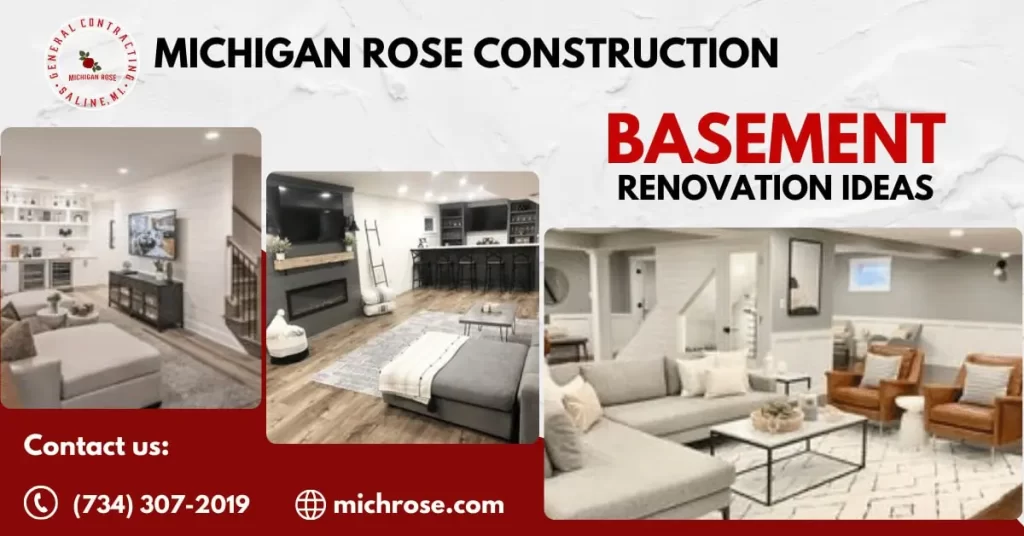
Discover creative and innovative basement renovation ideas by Michigan Rose Constructions. Transform your basement into a functional and stylish space now!
5 Advantages of Kitchen Remodeling
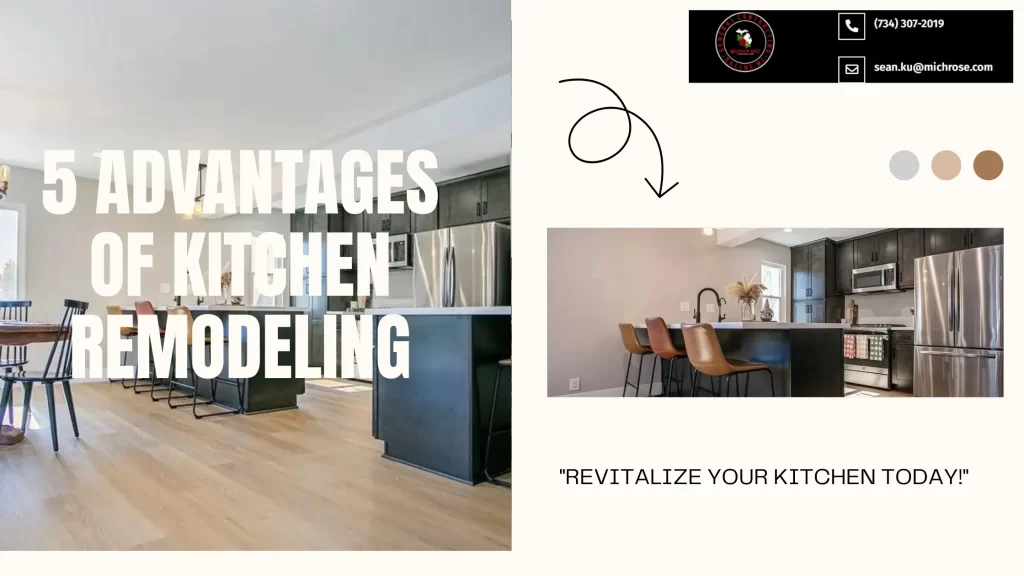
Discover the top 5 advantages of kitchen remodeling and how it can transform your space. Dial Michigan Rose for expert advice and services.


